What Are The Best Practices For Pruning Roses In The Garden?
Pruning roses is an important task that every gardener should know how to do, as it helps keep the plants healthy and encourages them to produce more blooms. If you're a beginner, don't worry - pruning roses is not as daunting as it may seem at first. Follow these eight simple steps to prune your roses like a pro!
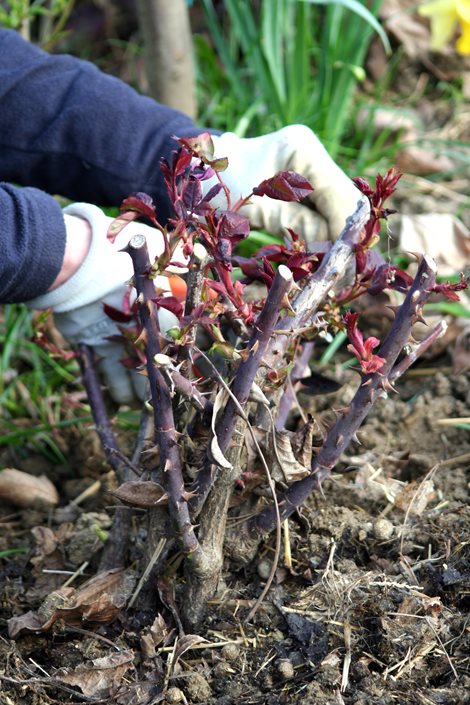
Step 1: Get Your Tools Ready
Before you start pruning, make sure you have the right tools. You'll need pruning shears, which are specially designed to cut through tough rose stems, as well as gloves to protect your hands from thorns. You may also wish to have a small saw or loppers on hand for thicker branches.
Step 2: Remove Dead, Damaged, or Diseased Canes
The first step in pruning roses is to remove any dead, damaged, or diseased canes. These canes are often brown or black, and may be soft or hollow when squeezed. Use your pruning shears to cut them right back to the base of the plant. Be sure to sterilize your shears between cuts by wiping them down with rubbing alcohol to prevent the spread of disease.
Step 3: Cut Out Inward-Growing Canes
Next, look for any canes that are growing inward towards the center of the plant. These canes can rub against each other and cause damage, and can also prevent light and air from reaching the center of the plant. Use your pruning shears to cut these canes all the way back to the base of the plant as well.
Step 4: Remove Weak or Spindly Canes
Now, look for any canes that are particularly weak or spindly. These canes won't be able to support the weight of blooms, and may break or become diseased. Use your pruning shears to cut them back to the base of the plant as well.
Step 5: Cut Back Remaining Canes
Finally, it's time to prune back the remaining canes to shape the plant and encourage new growth. The exact amount you'll need to prune back will depend on the type of rose you have, but as a general rule, aim to remove about one-third of the height of the plant. Cut back to just above a healthy bud that faces away from the center of the plant.
Step 6: Remove any Finishing Foliage and Buds
Take a good look at the plant and remove any finishing foliage or buds. Finished blooms should be removed, leaving only a few leaves on the stem. This will prevent disease promotion and keep the plant looking great.
Step 7: Clean Up and Dispose of Pruned Material
Once you're done pruning, clean up and dispose of the pruned material. This will help prevent the spread of disease in your garden. You can compost the pruned material, but be sure to put it in a separate pile and let it decompose completely before using it in your garden.
Step 8: Provide a Good Environment for New Growth
Finally, give your roses a good start to the growing season by providing them with a healthy environment. Make sure they're well-watered and have plenty of sunlight. Fertilize them according to the recommendations of the product, or check with a garden expert for their recommendations on good rose fertilizers, as ratios and ingredients vary greatly.
Now that you know how to prune your roses, get out there and give it a try. With a little practice, you'll be able to keep your roses healthy and blooming beautifully year after year! Don't forget that roses are particularly susceptible to disease - keep them healthy, keep them clean, and enjoy!


