What Are The Benefits Of Using Raised Beds For Better Root Aeration?
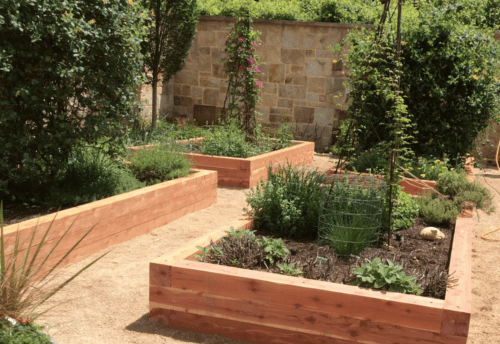
Raised beds are a popular alternative to traditional gardening methods that allow plants to thrive in ideal conditions. Whether you're a seasoned gardener or a beginner, building a raised bed garden can bring numerous benefits to your outdoor space. In this article, we'll dive into the benefits of raised beds and how you can start building one of your own. First, let's take a look at the image above. This is an example of what a raised bed garden might look like once it's established. As you can see, the garden is elevated off the ground with tall, wooden sides that help to contain the soil and plants within. The plants themselves are arranged in neat rows, with plenty of room for growth and ample space to walk around and tend to them. So, why should you consider building a raised bed garden? Here are just a few of the benefits that come with this type of gardening: 1. Improved Soil Quality - One of the biggest advantages of raised beds is that you have complete control over the soil that your plants are growing in. By filling the raised bed with a high-quality soil mix, you can ensure that your plants have all the nutrients and minerals they need to thrive. Plus, because the soil is elevated off the ground, it tends to warm up faster in the spring and stays warmer throughout the growing season, which can help your plants grow more quickly and produce more food. 2. Easier Access - Another benefit of raised beds is that they're easier to access than traditional garden beds. Because the bed is elevated, you can work on it without having to bend or kneel, which can be a real lifesaver for people with back or knee problems. Plus, if you have mobility issues or use a wheelchair, you can build the raised bed to a height that's comfortable for you to work at. 3. Fewer Weeds - Raised beds are less likely to develop weeds than traditional gardens because the soil is contained within the bed. This makes it harder for weed seeds to blow in from other areas of your yard and take root, and it also means that you can spot and remove any new weeds more easily than you would in a sprawling garden. 4. Longer Growing Season - As we mentioned earlier, the soil in raised beds tends to warm up more quickly in the spring and stay warmer throughout the growing season. This means that you can start planting earlier in the year and keep your garden going for longer in the fall. Plus, because you have more control over the environment in a raised bed, you can add features like cold frames or row covers to extend your growing season even further. Now that you know some of the advantages of raised bed gardening, let's talk about how to get started. Here's a step-by-step guide to building your own raised bed garden: 1. Choose your location - The first step in building a raised bed is to decide where you want it to go. Look for a spot in your yard that gets plenty of sunlight and has relatively level ground. You'll also want to consider factors like drainage and proximity to water sources. If possible, try to place your raised bed close to your house or other structures so that you can easily access it. 2. Determine the size - Once you've chosen your location, you'll need to determine the size of your raised bed. Think about how much space you have and how much you'd like to grow. Raised beds can be any size, but a common size is 4 feet wide by 8 feet long. This gives you plenty of room to plant a variety of crops but is still manageable in terms of building and maintenance. 3. Gather materials - To build a raised bed, you'll need some lumber, screws, and some sort of barrier material to line the bottom of the bed. Cedar is a good choice for the wood, as it's rot-resistant and looks great. Other options include pressure-treated lumber or composite decking material. For the lining, you can use weed fabric or cardboard. Be sure to choose materials that are safe for growing food in. 4. Build the frame - Once you have your materials, it's time to build the frame of the raised bed. Cut your lumber to the appropriate length and screw the corners together to create a rectangular frame. Be sure to check that your corners are square so that your frame is level. Then, line the bottom of the frame with your barrier material, taking care to cover the entire bottom surface. 5. Fill with soil - With your frame in place, it's time to fill it with soil. You can use a high-quality gardening soil mix, or you can make your own using compost, peat moss, and vermiculite or perlite. Fill the bed about two-thirds of the way full, then water it thoroughly to settle the soil. 6. Plant your crops - Once your soil is in place, you're ready to start planting! Choose seeds or transplants that are appropriate for your growing zone and the time of year. When planting in a raised bed, you'll want to space your plants out a bit more than you would in a traditional garden to allow for proper air flow and growth. 7. Maintain your garden - With your raised bed garden up and running, all that's left is to maintain it. Keep an eye on the moisture level of your soil and water as needed, and remove any weeds that pop up. You can also add organic fertilizers or other soil amendments to keep your plants healthy. As you can see, building a raised bed garden is a relatively simple process that can bring numerous benefits to your outdoor space. Whether you're an experienced gardener or a total newbie, a raised bed garden is a great way to take your gardening to the next level. So if you're ready to start growing your own food and enjoying all the benefits that come with it, why not give raised beds a try?